When a UV laser engraving machine suddenly stops emitting light or produces only very shallow marks, many operators and technicians immediately suspect a failed laser source. In reality, the root cause is far more often something simple and easily fixed.
Understanding the Key Components
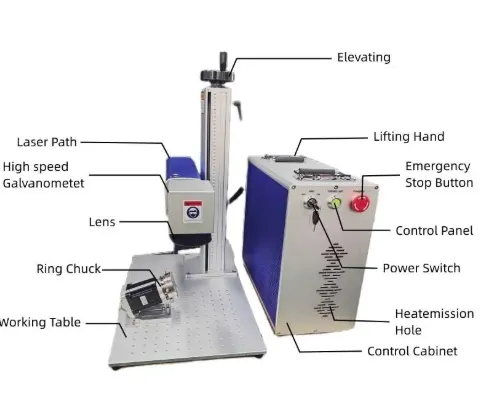
Before diving into troubleshooting, it helps to identify the main parts involved:
- The blue box is the UV laser source.
- The yellow cable is the fibre optic cable that delivers the laser beam.
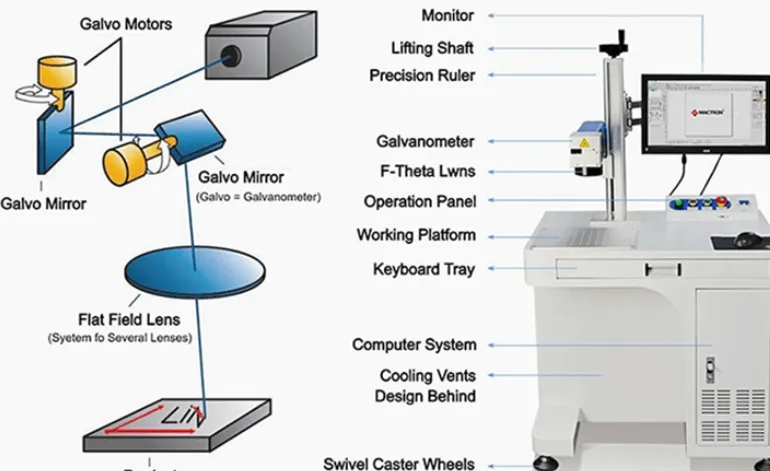
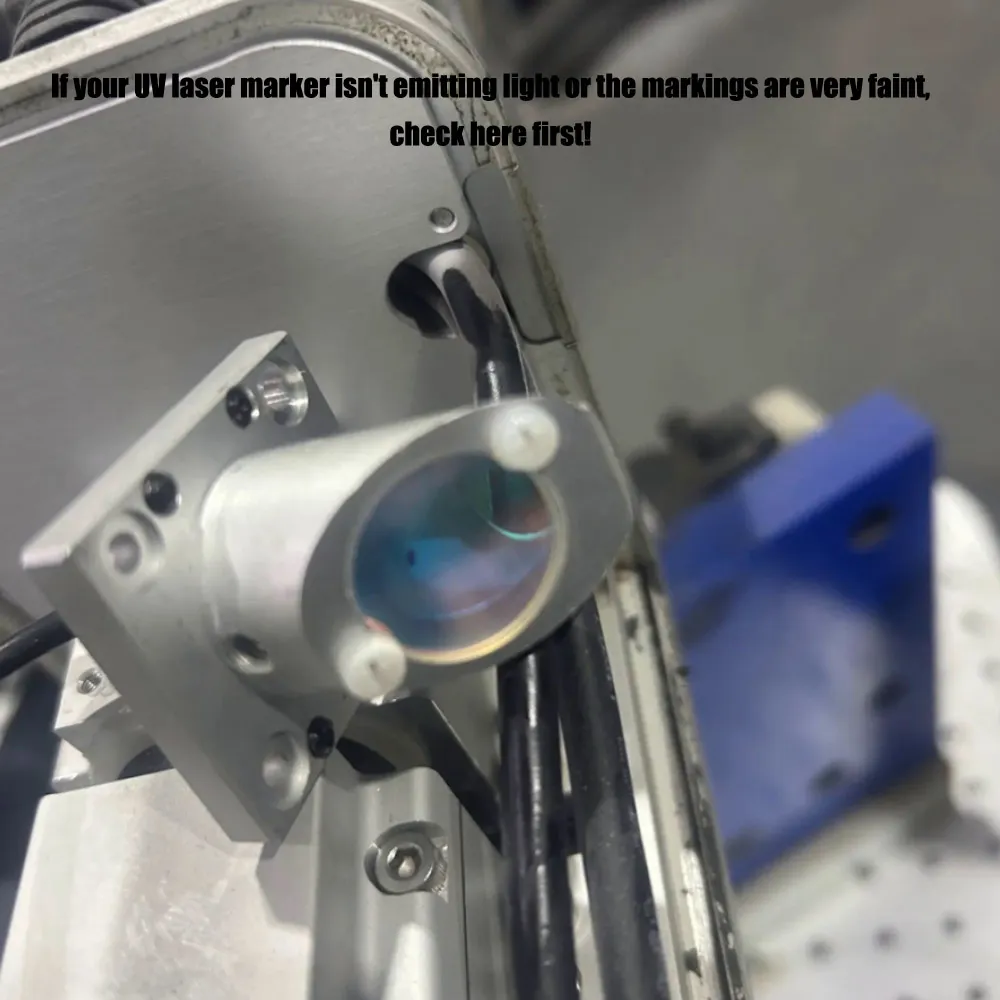
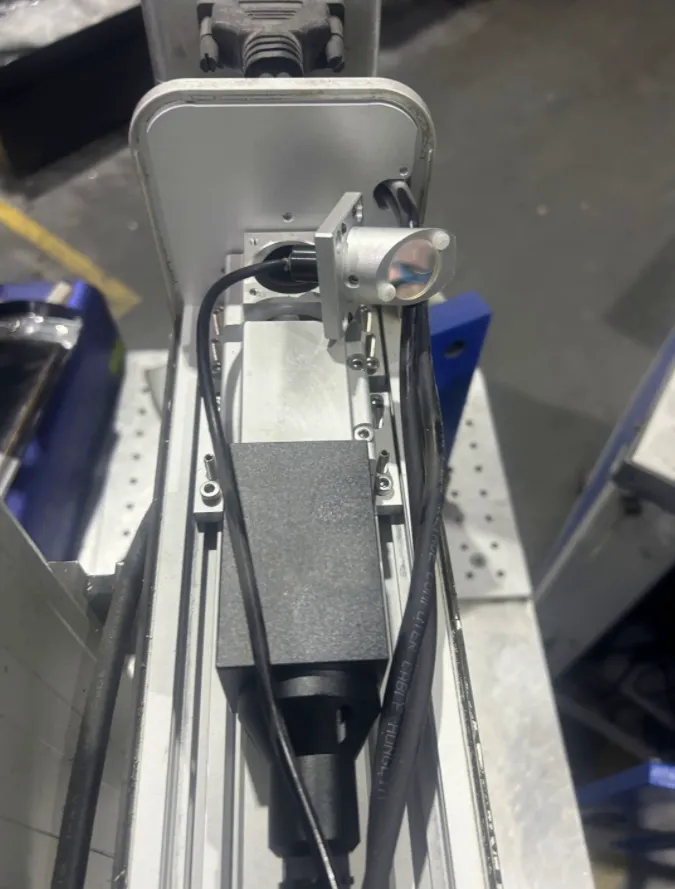
- The component at the front with the lens is the focusing (field) lens.
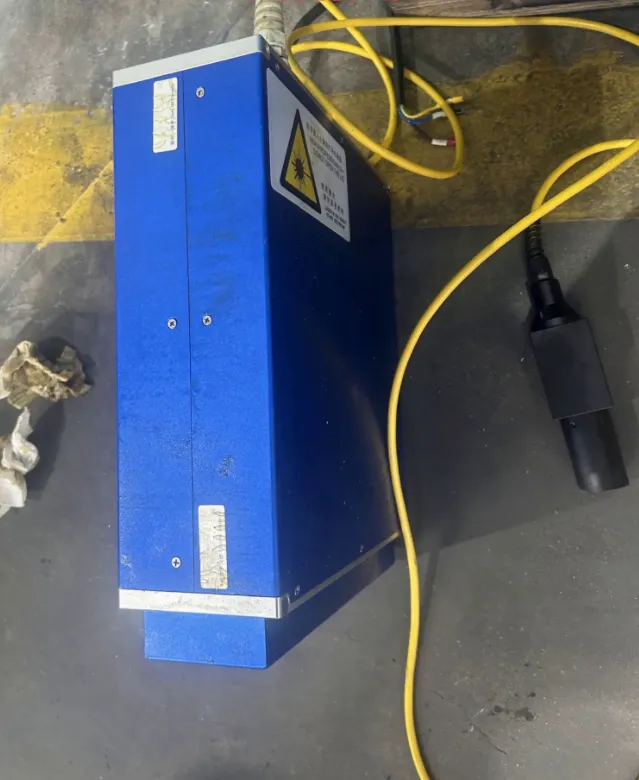
These three elements work together to deliver and focus the UV laser energy onto the workpiece. Problems in the optical path are responsible for the majority of “no light” or “weak engraving” complaints.
Step 1: Inspect and Clean the Focusing Lens (The #1 Culprit)
In approximately 80 % of cases, the issue is a dirty or scratched focusing lens. Dust, residue from engraving materials, or fingerprints can scatter or absorb the UV beam, drastically reducing power at the work surface.
How to clean it correctly:
- Power off the machine and allow it to cool.
- Gently wipe the lens with a lint-free optical cloth dampened with high-purity isopropyl alcohol (IPA).
- Never use ordinary paper tissues, cotton swabs with loose fibres, or abrasive materials — these can leave scratches or residue.
If the lens shows visible scratches, pits, or coating damage, replace the field lens immediately. A damaged lens cannot be restored to proper performance and will continue to cause weak or inconsistent engraving.
Step 2: Check the Remaining Optical and Electrical Path
If cleaning or replacing the focusing lens does not restore normal operation, systematically inspect the following:
- Fibre end face — Examine both ends of the yellow fibre optic cable for dirt, burns, or damage. Clean carefully with appropriate fibre-optic cleaning tools if needed.
- 24 V power supply — Verify that the laser source is receiving stable 24 V power. Check connectors and measure voltage if possible.
- Trigger signal — Confirm that the control system is correctly sending the laser-on signal to the source.
When the Laser Source Itself Is Faulty
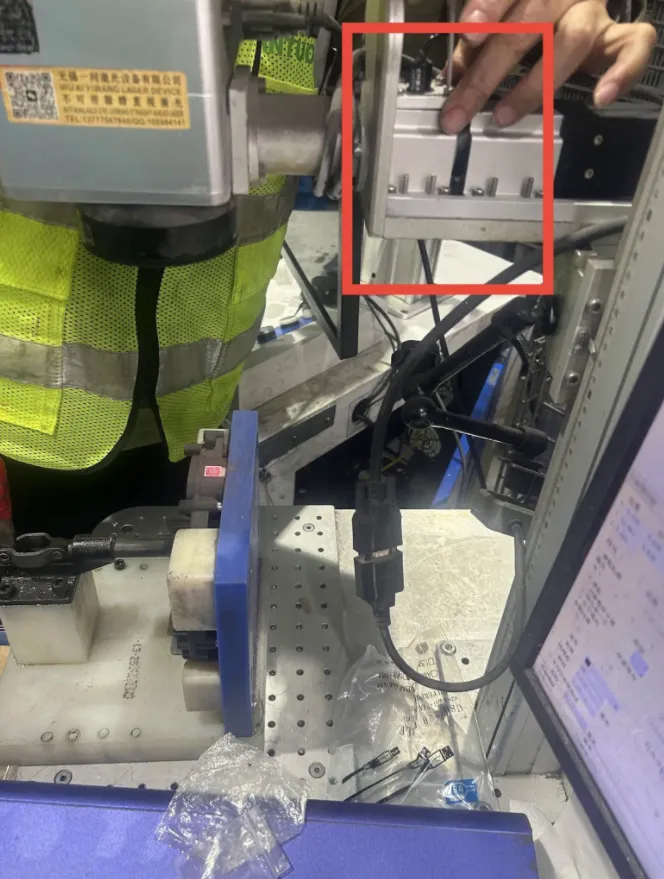
If the focusing lens, fibre ends, power supply, and trigger signal are all verified as good, the UV laser unit itself may have failed. In most cases these sources are not field-serviceable and must be returned to the manufacturer for diagnosis and repair.
Critical Safety Reminder
UV laser radiation is invisible and extremely hazardous to the eyes and skin. Always wear certified laser safety goggles rated for the specific wavelength of your UV laser during any inspection, cleaning, or commissioning work. Never look directly into the beam path or assume the laser is off simply because you cannot see it.
Summary Checklist
- Clean focusing lens with lint-free cloth + isopropyl alcohol
- Replace lens if scratched
- Inspect and clean fibre end faces
- Verify 24 V power supply
- Confirm trigger signal
- Wear UV laser safety goggles at all times
By starting with the focusing lens — the most common failure point — you can often restore full performance in minutes instead of days. Regular optical maintenance will also prevent many of these issues from occurring in the first place.
Keep your optics clean, your safety practices strict, and your UV laser will deliver consistent, high-quality results.